This video shows you how to create assignments.
Here are step-by-step instructions on how to create an assignment in Brightspace. There are two methods to create assignments. Either using the Assignments tool under Course Tools, or to create the Assignment within the Content Module.
Using the Assignments Tool to Create an Assignment
- From the course navigation bar, choose Course Tools > Assignments.
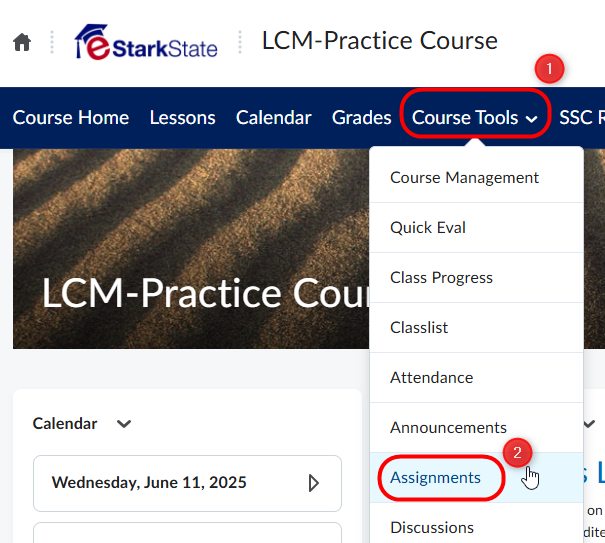
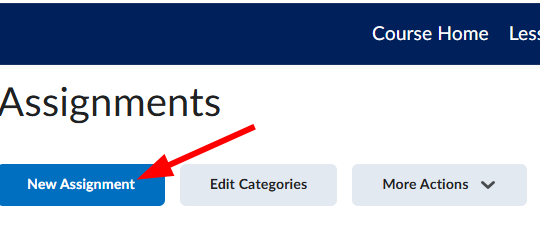
- Click the New Assignment button to begin creating the assignment.
Alternate Method: Create within Content Module
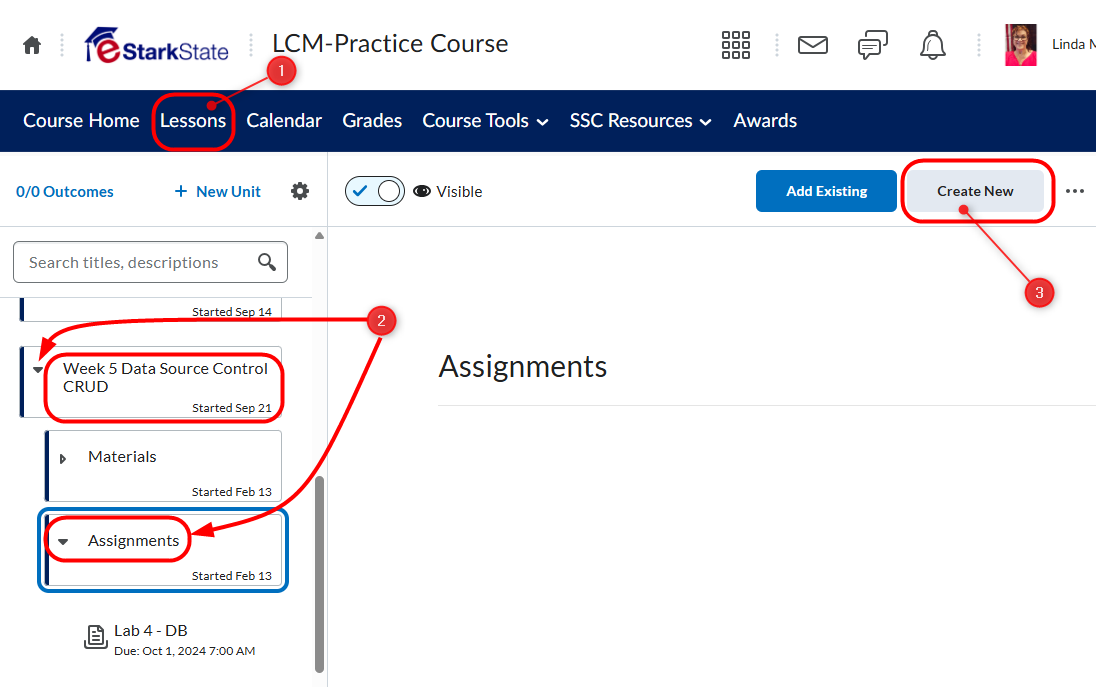
- Navigate to the Lessons link on the navigation bar. Open the Content Module where the item will appear. Then, click Create New.
Create an Assignment
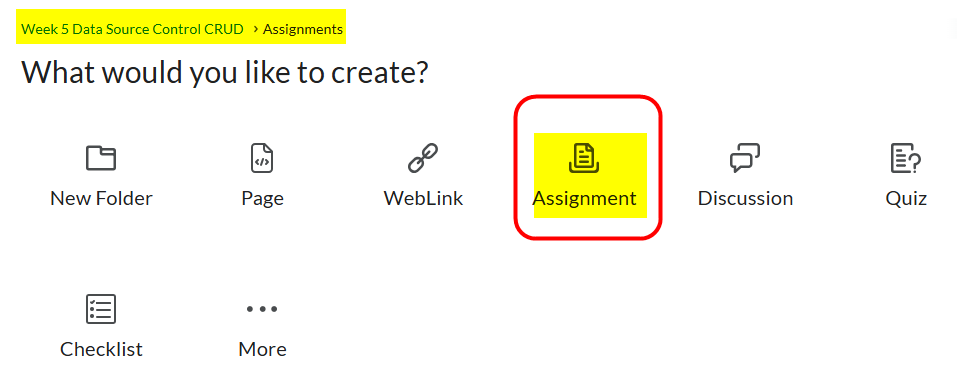
- Choose Assignment from the list of items. Notice above the list of items to create is a breadcrumb that shows where the item is going. In this case it will be in the Assignments folder for Week 5.
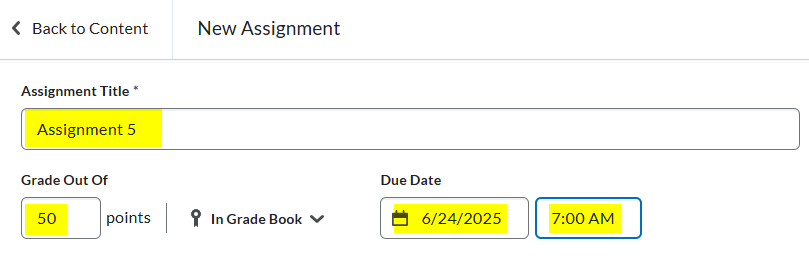
- Fill in the basic information for the Assignment.
- Name: Give your assignment a clear, descriptive title.
- Grade Out Of: Enter the maximum points. This will automatically set up a gradebook item—editable if needed.
- Due Date/Time: Set when the assignment is due. This date will appear in the course calendar (unless overridden).
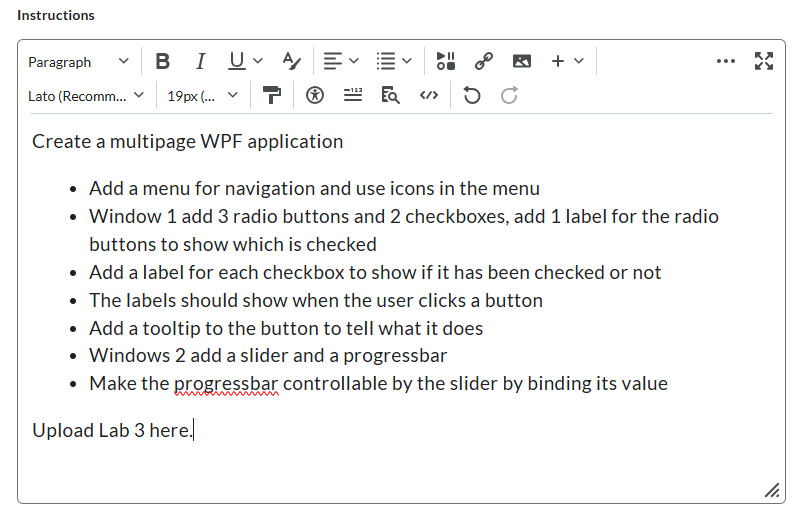
- Use the HTML editor to add instructions, links, media, or embed other course materials. You can also attach files using the icons below the editor (e.g., upload a file, link to content, record audio/video).
Configure Assignment Settings
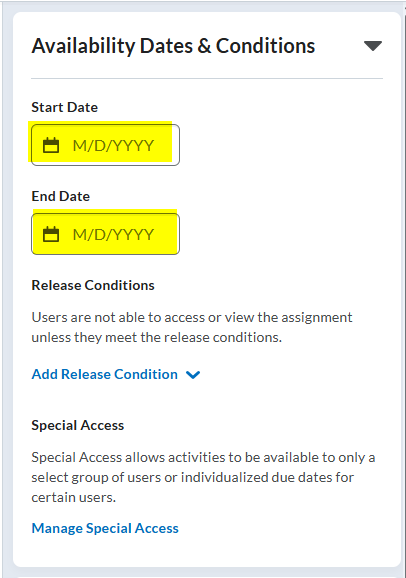
- Availability Dates & Conditions: Set optional Start Date and End Date. Release Conditions and Manage Special Access will be explored in another article.
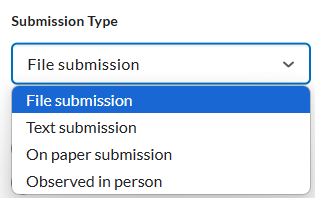
- Submission & Completion: In this section, you’ll choose whether or not this is an Individual or Group assignment, the formats allowed for submission.
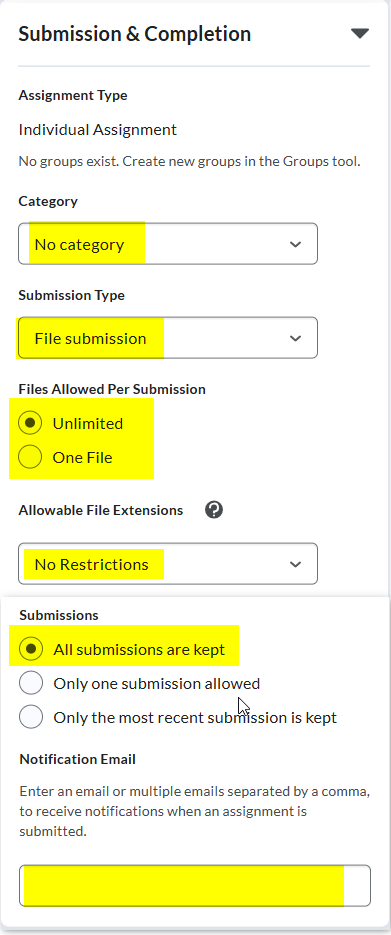
- Category – choose a category from the list of options.
- File Submission – Select the files allowed, extensions allowed the submissions to be kept, and add your email address if you want to be notified each time a student submits an assignment.
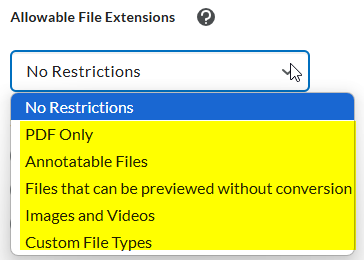
- Allowable File Extensions – There are a few options for the types of files students are allowed to submit. When you click the down arrow, you’ll see this:
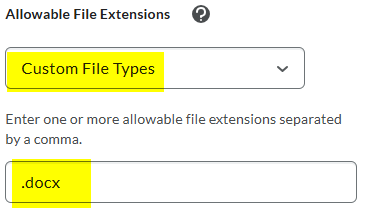
- If you want to specify file types, for example, you only allow Microsoft Word files, you would choose Custom File Types (the last item in the list), then type in the allowed file types. In this instance, Word files end with .docx.
- Evaluation & Feedback: If you’re going to use a rubric, you can add it in this section. List any learning objectives students and turn on the annotation tools. This will allow you to do inline grading. Anonymous marking is great to use when you want to focus on the student work and enhance assessment validity.

- Add Files, Links, Audio and/or Video. There are a number of things you can add before you finish. You can upload a file, attach a link to a course activity, attach a weblink, and add audio/video to the instructions.
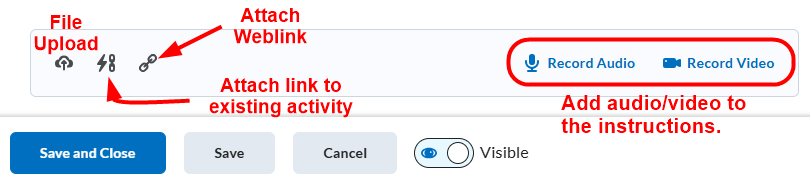
- Save and Check Visiblity. Finally, save the assignment. You have two save options, Save, allows you to keep working on the assignment while making sure you don’t lose what you’ve already done. Save and Close will save and close the assignment. Finally, make sure that you toggle the Visibility button on so that the assignment is available to students.
End of article.