Create attendance registers to track attendance for your course-based activities, such as a mandatory discussion seminar.
Create a New Attendance Register – step-by-step tutorial .pdf file
To create a new attendance register
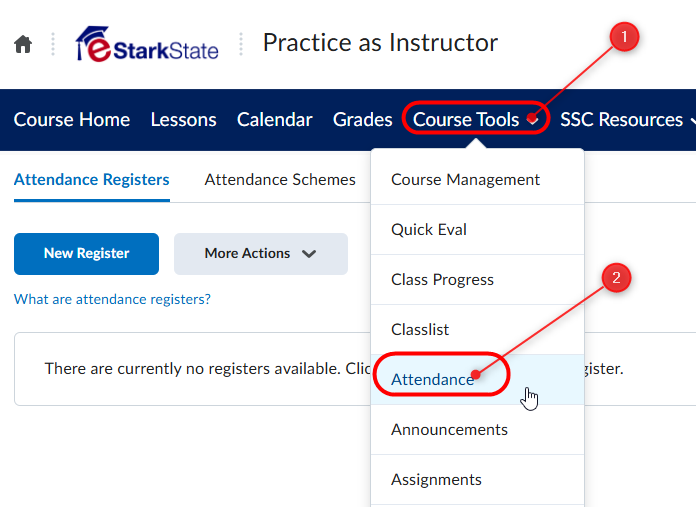
- You must be in your course to create an Attendance Register. From the Navigation bar at the top of your course, click Course Tools > Attendance.
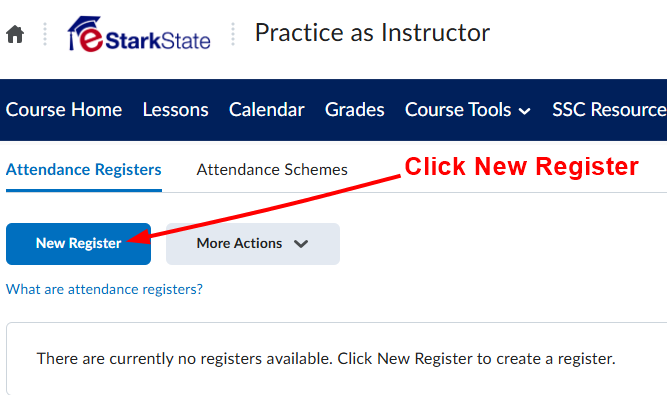
- On the Attendance Registers page, click New Register.
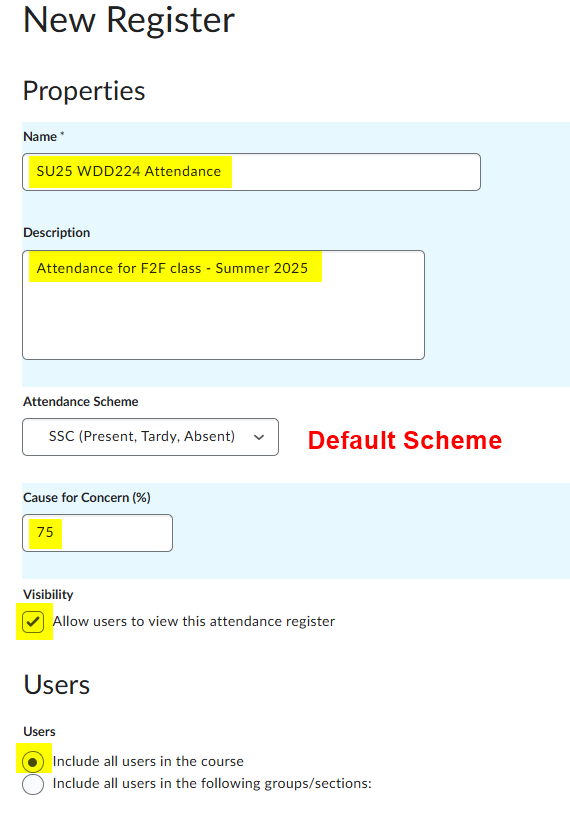
- Enter a Name.
- Enter a Description.
- Choose an attendance scheme from the Attendance Scheme drop-down list.
- If you want to see a Cause for Concern icon (warning) beside underperforming users’ names on the Attendance Data page, enter a percentage in the Cause for Concern field that indicates your minimum attendance requirement.
- Select the check box to Allow users to view this attendance register.
- Select the users that you want to include in your register. You can choose to include all users or specific groups or sections.
- Fill in the form.
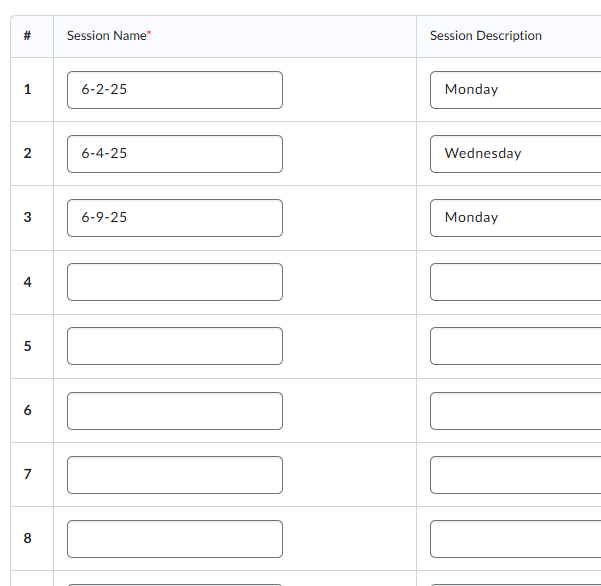
- Add one or more sessions for your register. The sessions are the days you have class. There are three lines by default. You have to Save before you can add more sessions.
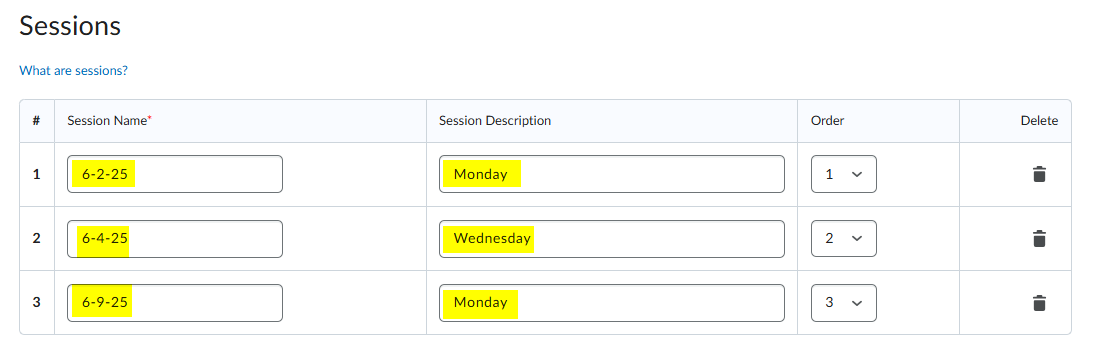
- Click Save. Once you save, you can add more sessions.
- To add more sessions, figure out how many more sessions you need for the semester, type that number in the box and click the Add Sessions link.
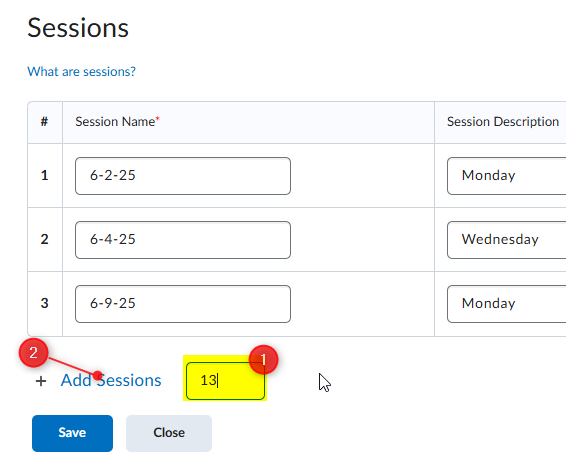
- More sessions will be added and you can continue to name the sessions.
NOTE: You do NOT have to add a Session Description